1.Introduction
This driver is based on CUPS common UNIX printing system, support from the serial port, parallel port, USB and windows.Supports print formatting for text ,pictures and raster bitmaps.The driver is tested on Ubuntu 16.04 LTS on raspberry PI. For more information ,please visit: HYPERLINK "https://www.cups.org/documentation.html" https://www.cups.org/documentation.html
2.Kiosk Printer driver Installation
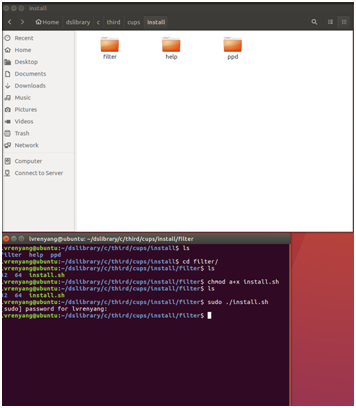
(1)Copy the filter rastertopos to the cups directory of filter, which is the general directory is / usr / lib / cups / filter /. In order to facilitate the installation, the installation steps have been written in a Shell script. Please enforce the shell script in the terminal, the command as follows: sudo ./install.sh
If there is without run permissions,please run it at the terminal:
sudo chmod a + x install.sh to add permissions.
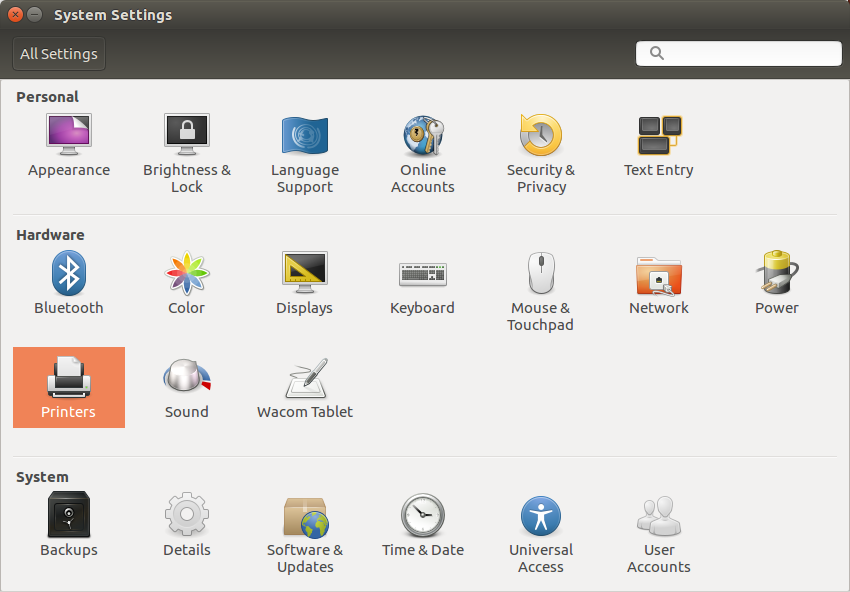
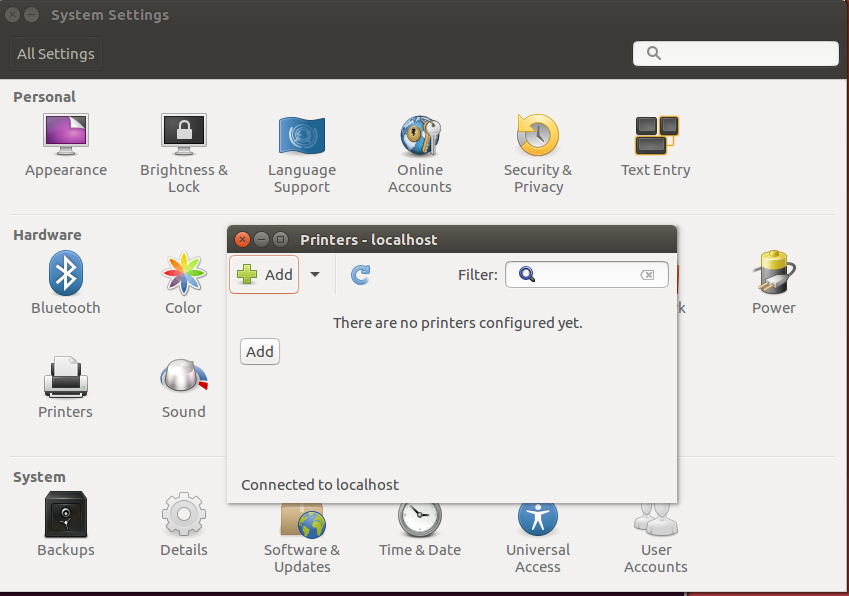
(2)After installing the filter, click System Settings -> Printers -> Add and you will find the printer,select the corresponding port and then click it.
For example:
The parallel printer selects LPT # 1, or LPT # 2.
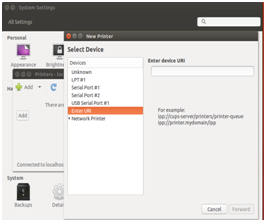
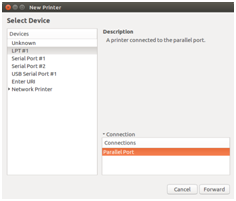
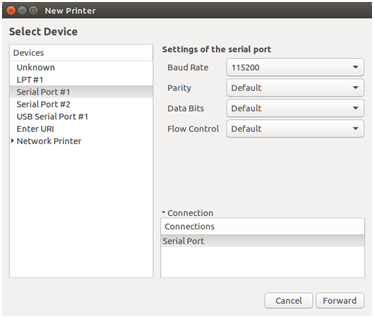
Serial Kiosk printer selection serial port # 1, or serial port #n, if there is no serial port, and may be insufficient permissions.Please modify the access permissions of serial device files for everyone can read and write, or enter the command at the terminal: sudo chmod a + rw / dev / ttyS0; The COM1 in the Windows, corresponds to the /dev/ttyS0 under Linux; The COM2 corresponds to /dev/ttyS1,and so on. After modifying the permissions, wait a few minutes, and the serial port already can be found in the Add Printer. Select the baud rate,preferably 115200, check no, data bits 8, flow control selected hardware (RTS or DTR ).
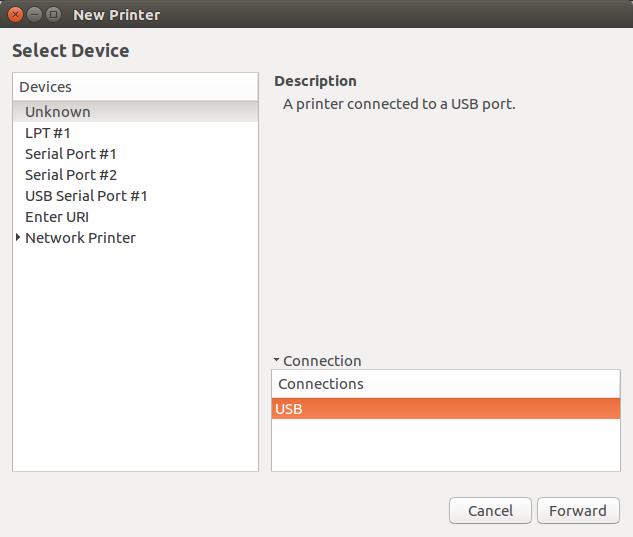
USB kiosk printers need to connect the printer U port to the computer first, and then click the add printer. You will find a Unknown in the selection device, which is a printer connected to a USB port. This is connected to the USB printer.
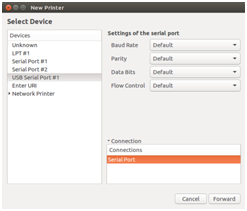
The network printer needs click the network printer in the page of Add Printer, select the print protocol for the AppSocket / HP JetDirect, on the right side of the host column to fill the printer's IP, such as 192.168.1.87, and to fill the port number 9100.
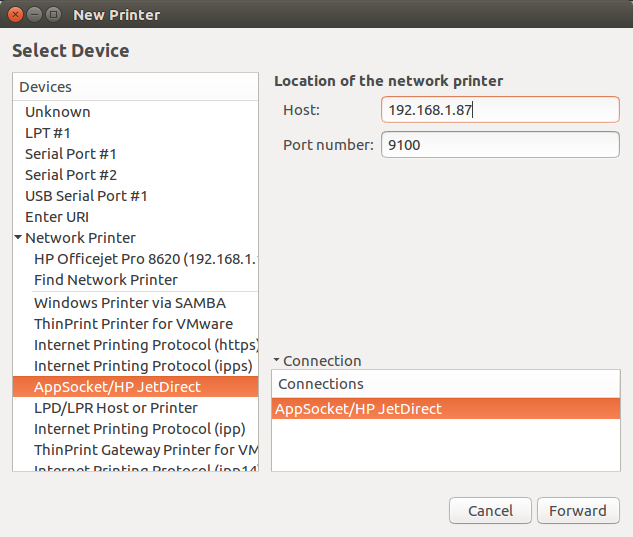
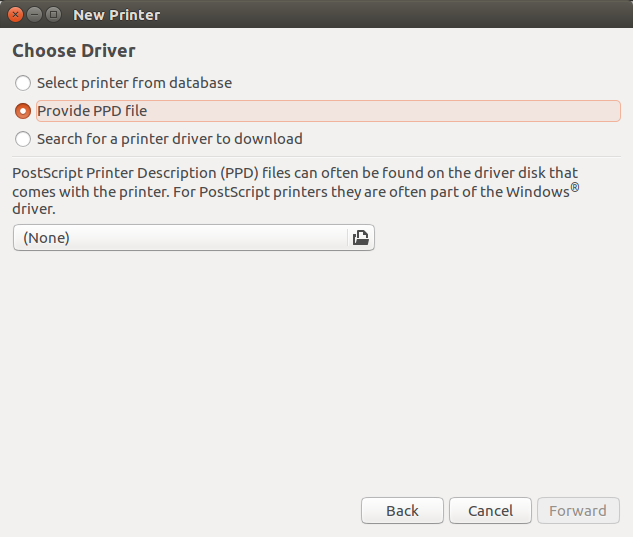
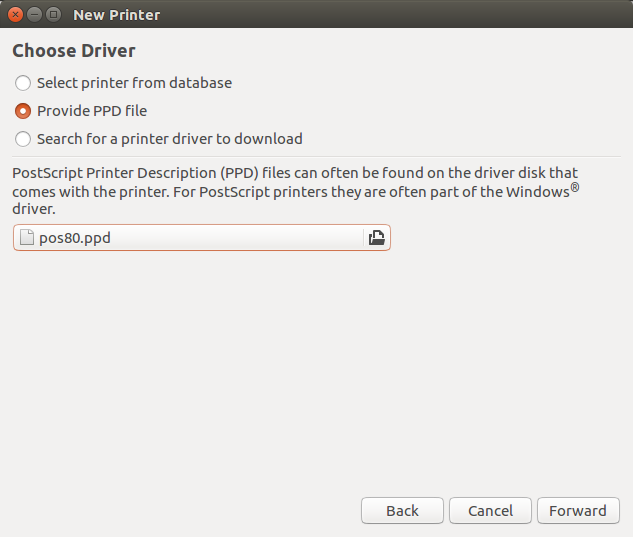
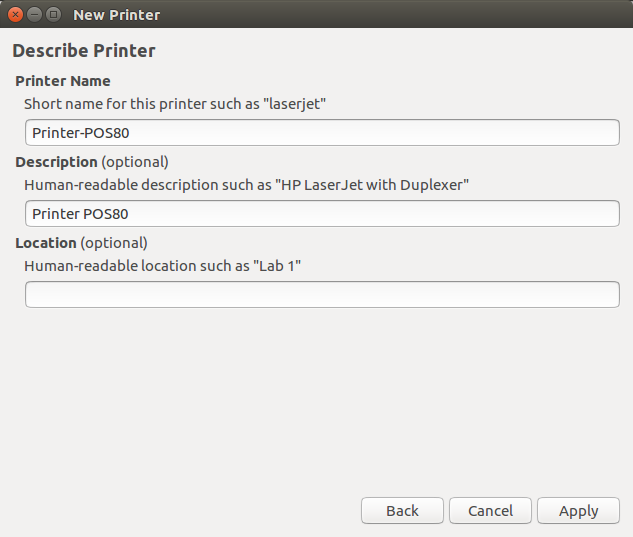
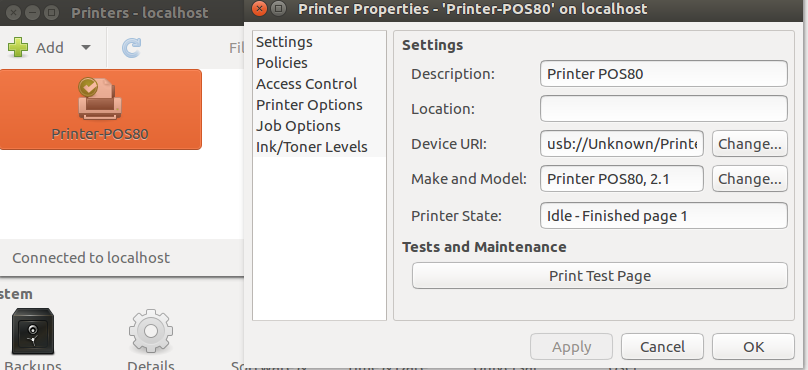
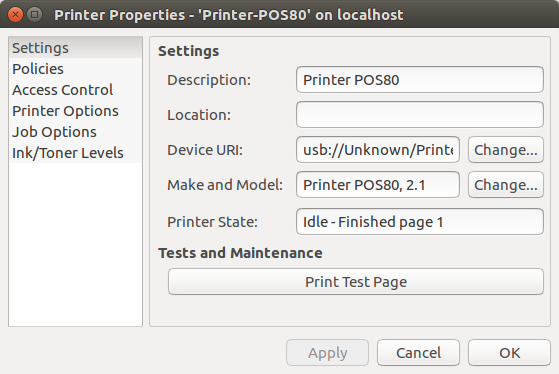
(3)When you select the port and click forward will find the tips of driver is searching. On the Select Driver page, choose to provide the PPD file. Select the corresponding PPD file in the PPD directory. Click forward. fill in the description and then click apply.
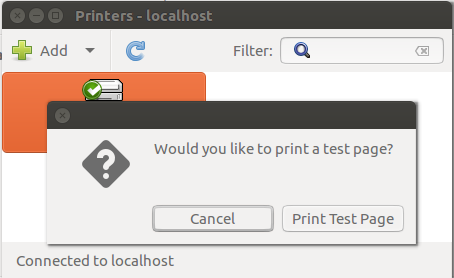
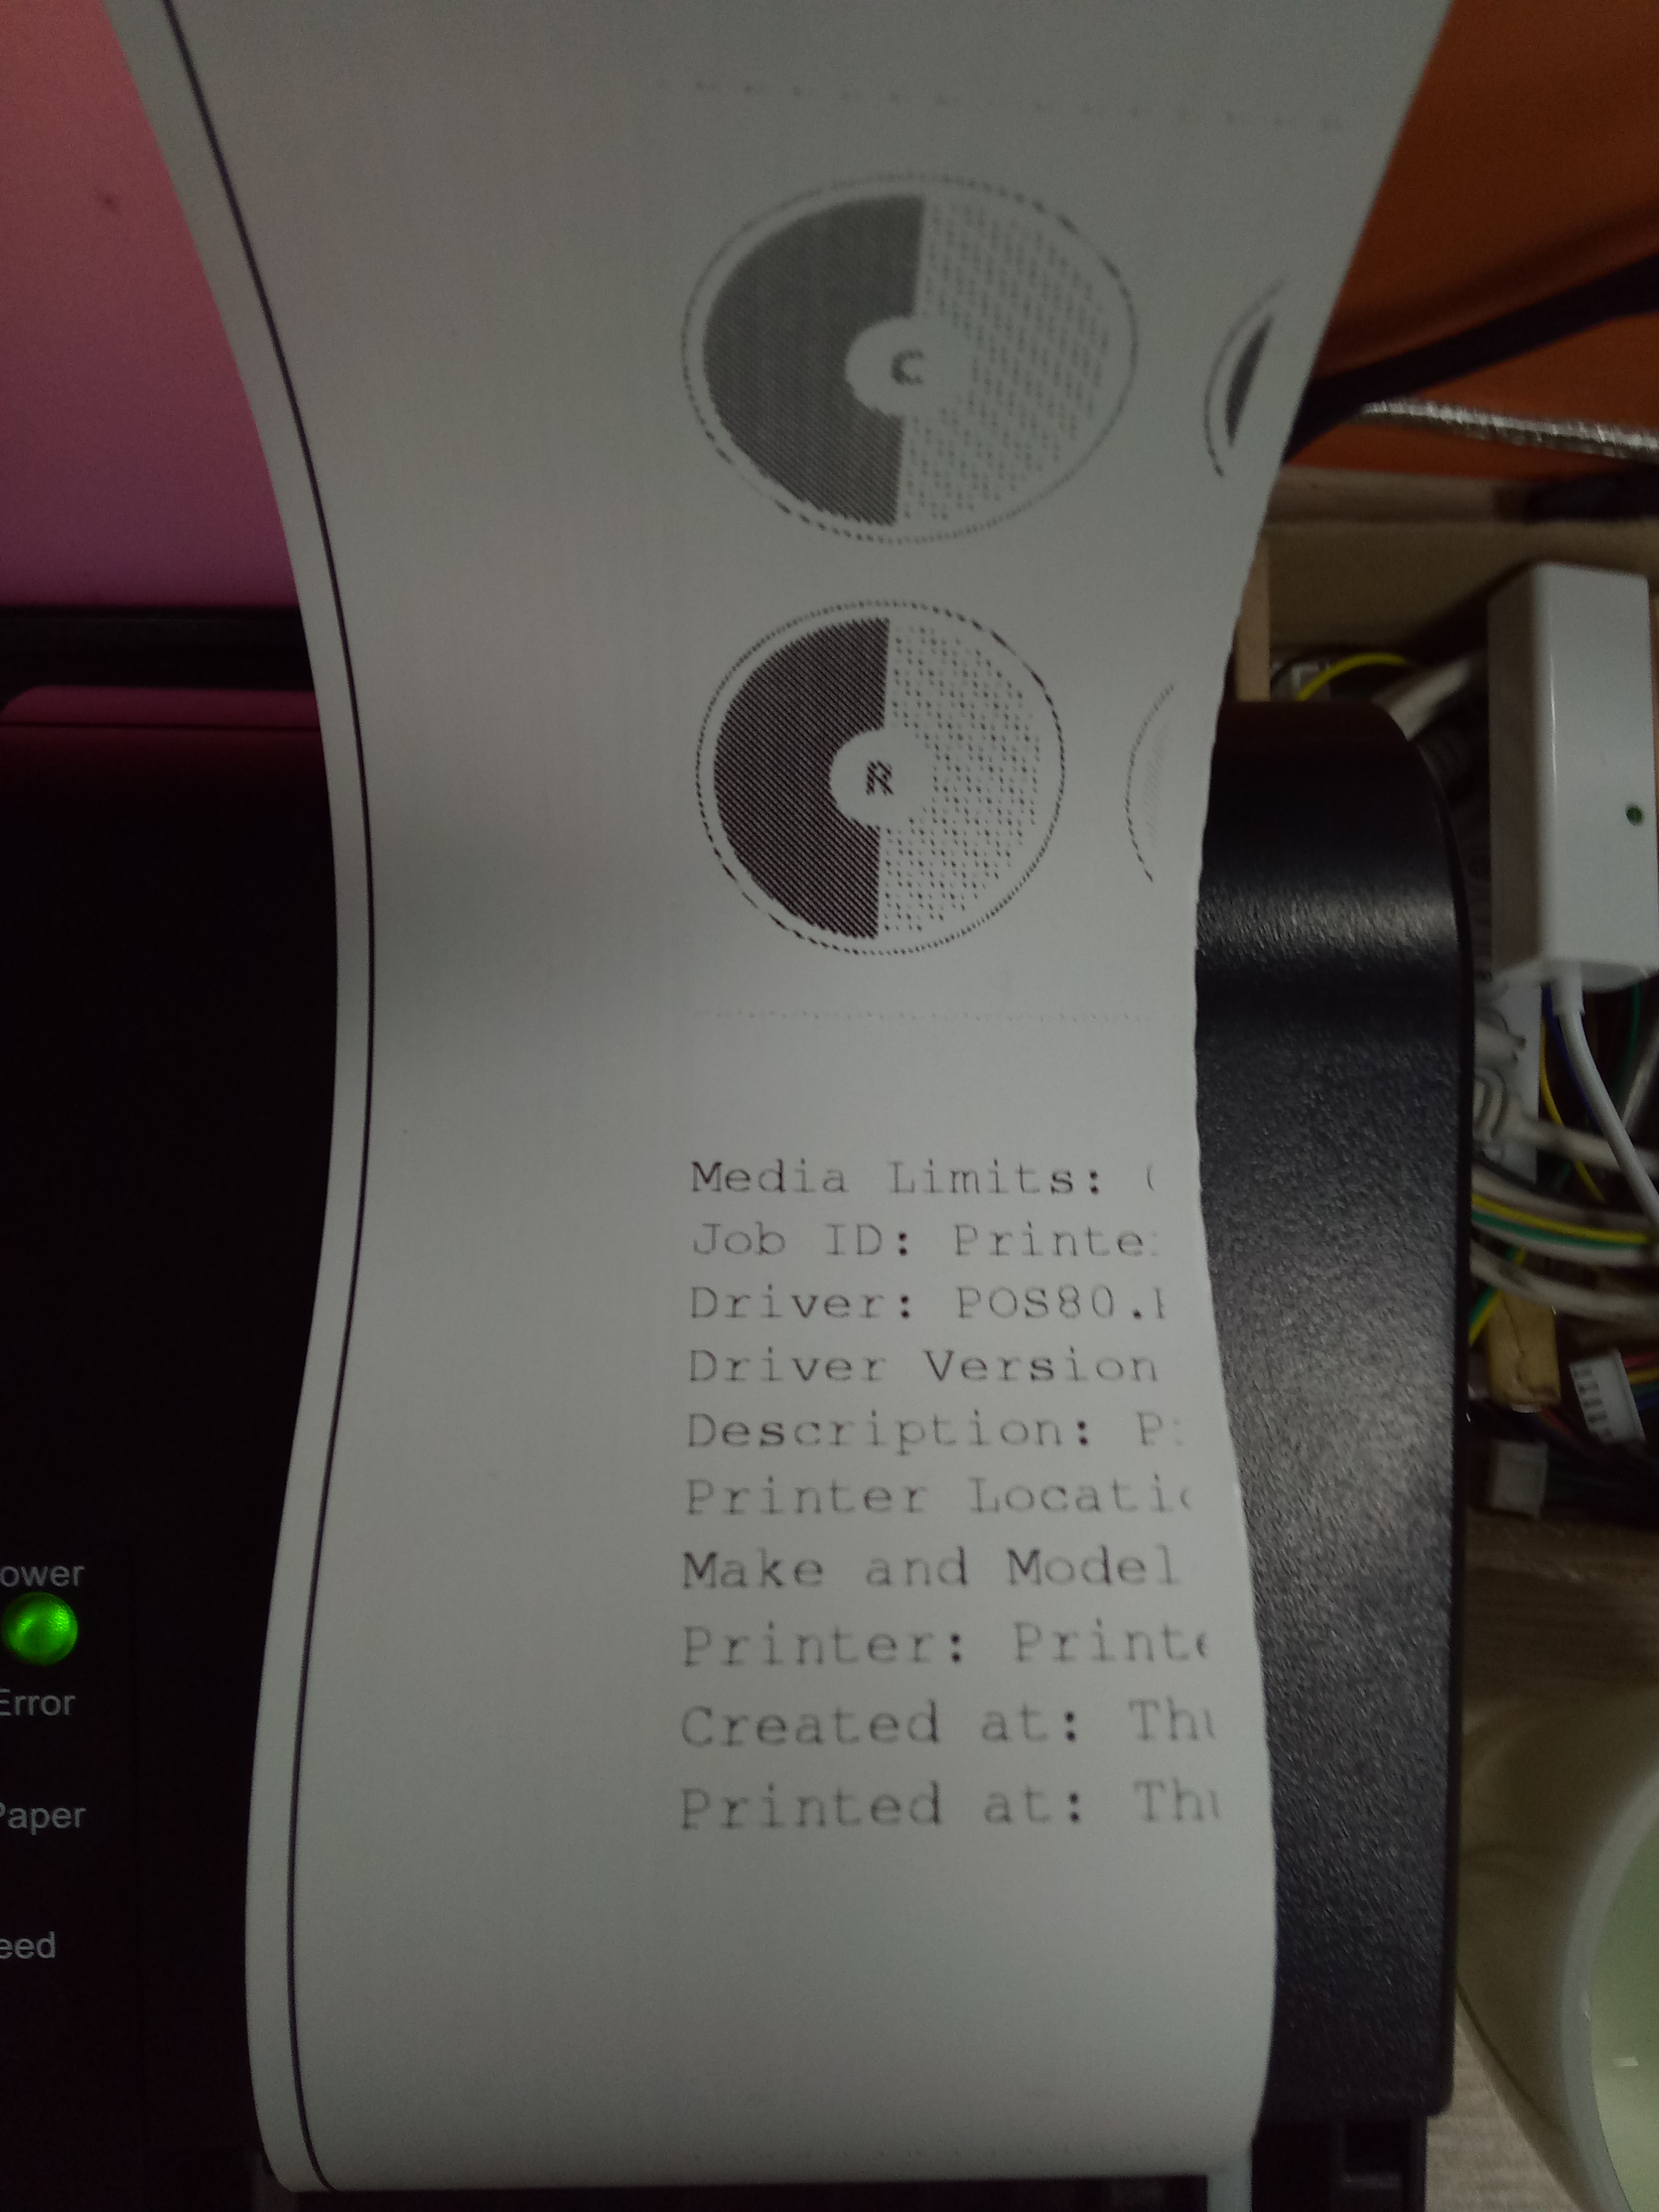
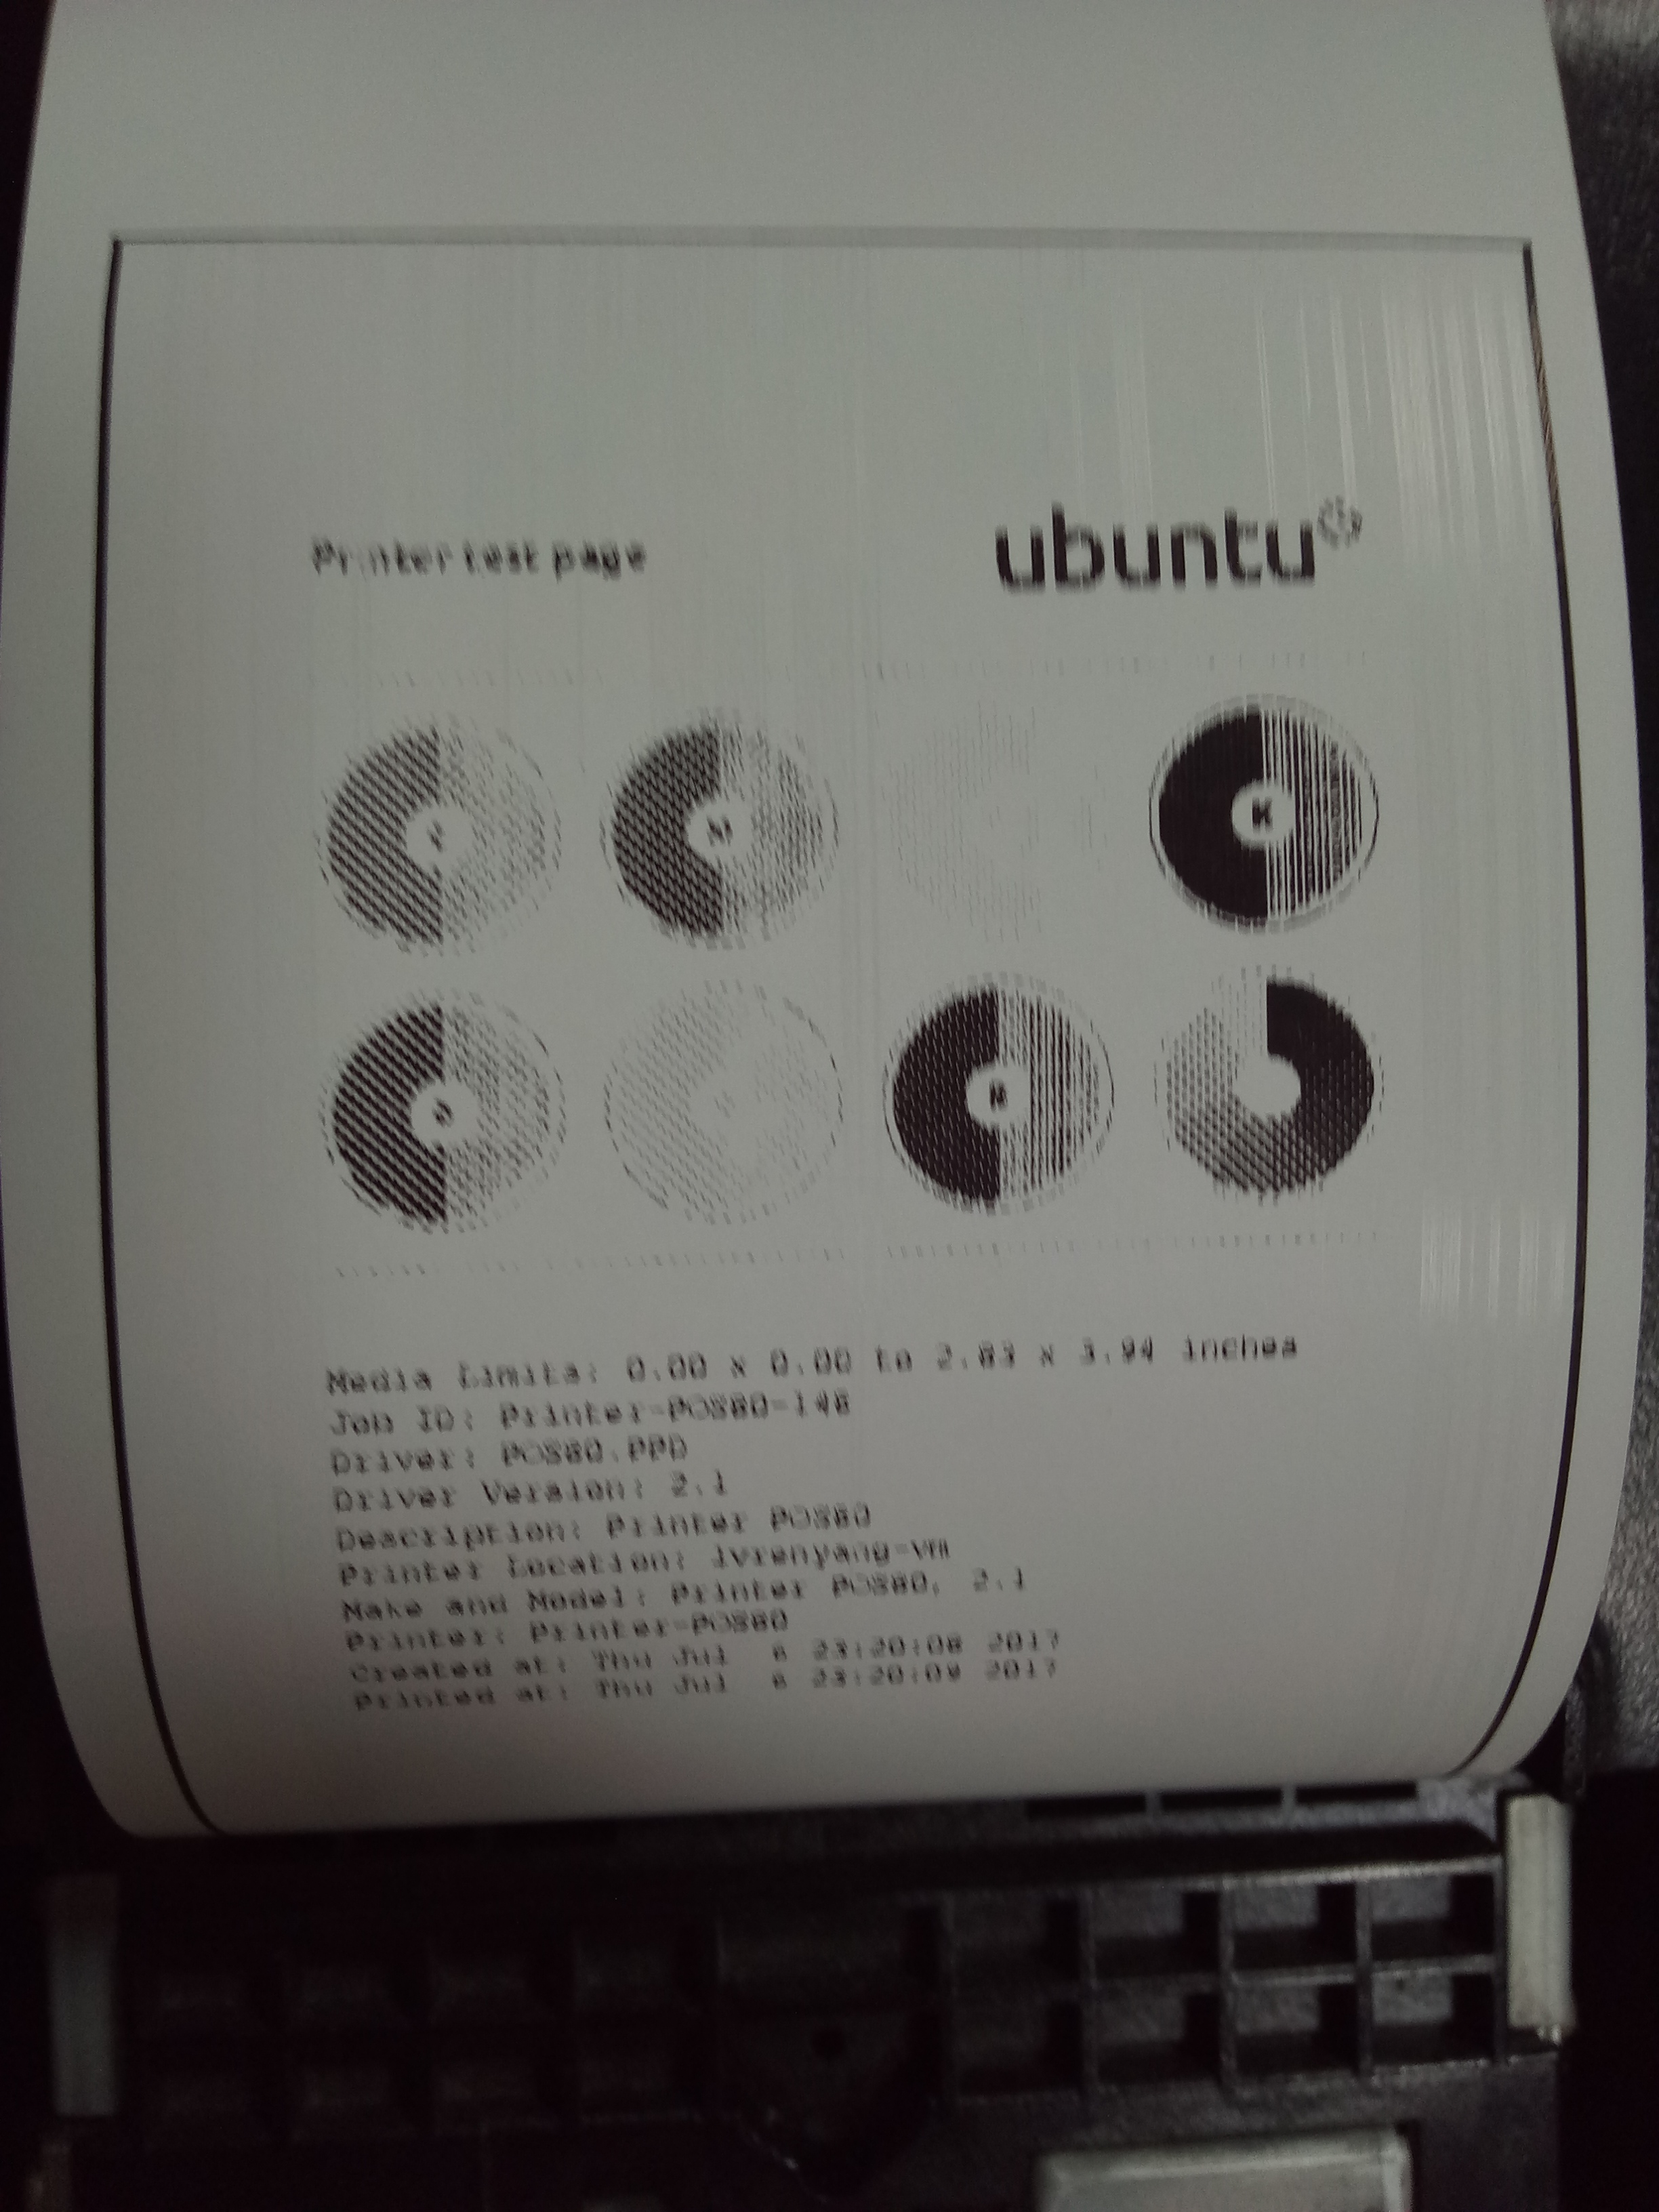
(4)Self-test page. If you print the picture successfully, then the print service is normal.
Attention:
If it’s a USB printer,you need to access the USB port at first, and then click the Add Printer button to identify the USB interface, the identification process may take a few seconds to ten seconds, please don’t worry.
Apply
Supports direct printing from browser or some document editor about word, browser or pictures .Also supports printing from the command line.If you need to print text from the command line, just enter lp README.txt.If you want send binary data, just need lp -o raw data.bin can.And if you need more information,please refer to HYPERLINK "https://www.cups.org/documentation.html" https://www.cups.org/documentation.html
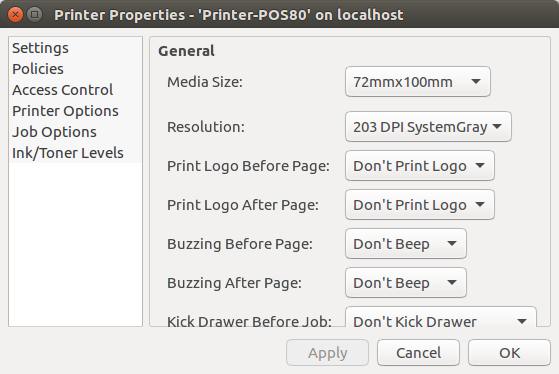
Option
Media Size:The paper size,you can customize or select it from the list.
If the print range is exceeded, the excess part will not be printed. To ensure the print,We will not scale the print content.
Suggestion
(1)Set serial baud rate to 115200 will get better results.
(2)Choose the right paper will be better.


